Kitchen Planning
How to Plan a Kitchen Remodel: A Long Island & NYC Homeowner’s Guide
A practical, room-by-room checklist for making layout, storage, appliance, permit, and construction decisions before demolition begins.
Planning a kitchen remodel begins with how the room should work—not with a cabinet color or a countertop sample. Before demolition, define the problems to solve, verify the existing space and systems, select major equipment, and agree on a written scope. Those early decisions help design, pricing, procurement, and construction stay aligned.
- Rank daily-use problems and must-haves before comparing finishes.
- Measure the existing room and investigate structural, plumbing, electrical, gas, and ventilation constraints.
- Finalize appliance specifications, cabinetry, and long-lead materials before construction.
- Confirm permit and building requirements for the exact property and scope.
- Compare proposals by inclusions, exclusions, allowances, and process—not total price alone.
Prime Craft coordinates design, selections, applicable approvals, and construction as one team. If you are already evaluating a project, see our design-build kitchen remodeling services for Long Island and New York City. If you are still organizing ideas, use the steps below as a decision checklist.
1. Define what the new kitchen must improve
Start with the friction you experience now. A kitchen can look dated and still function well; another can look attractive but fail every morning because the refrigerator blocks a walkway, small appliances occupy all the prep area, or pantry storage is scattered across the room.
List the household’s routines before products. Who cooks at the same time? Do children use the island for homework? Do you entertain in the kitchen or want guests outside the work zone? What needs to be within reach? Which items can be stored elsewhere? A clear hierarchy makes later decisions easier when space, scope, and budget compete.
Make movement easier.
Identify conflicts between cooking, cleanup, refrigeration, seating, and paths to adjoining rooms.
Give every category a home.
Inventory cookware, pantry goods, countertop appliances, waste, recycling, and serving pieces.
Design around real habits.
Define range, oven, ventilation, prep, landing-space, and small-appliance needs.
Separate seats from traffic.
Decide how many people should sit and where stools, chairs, and walkways can coexist.
Choose for daily care.
Consider fingerprints, spills, grout, heat, water, pets, and the cleaning routine you will maintain.
Set a visual direction.
Collect a focused group of references, then define what should feel timeless and what can make a statement.
Bring photos of the existing room, a short list of problems, examples you like, appliance preferences, timing constraints, and a realistic investment conversation. These inputs are more useful than a folder of unrelated inspiration images.
2. Document the existing kitchen before drawing the new one
A floor plan is more than wall lengths. It should locate doors, windows, trim, ceiling changes, radiators, plumbing, gas, electrical service, vents, mechanical chases, stairs, and connections to nearby rooms. In older New York homes, walls and floors may not be perfectly square or level, and previous renovations can hide conditions that affect the new work.
Professional field verification reduces avoidable assumptions, but some conditions remain concealed until investigative work or demolition. The project team should explain what is known, what must be verified, and how concealed conditions will be handled if they appear.
Map the kitchen beyond its walls
Look at the routes people actually take: front entry to refrigerator, range to sink, kitchen to dining area, basement stair to hallway, and backyard to food-prep space. A wall opening that makes the plan feel larger may also redirect traffic through the cooking zone. Good design studies the connected floor, not only the cabinet elevations.
3. Decide whether to keep or change the layout
Keeping major plumbing, gas, ventilation, and walls in place can reduce construction complexity, but it is not automatically the best value. If the existing plan causes daily conflicts, preserving it can lock those problems into new cabinetry.
Compare at least two directions: an improved version of the current footprint and a plan that addresses the largest functional limitation. Evaluate both using real cabinet and appliance dimensions. Door swings, open drawers, stool clearances, countertop overhangs, landing space, and the main walk paths should all be visible in the plan.
| Decision | Potential benefit | What to verify |
|---|---|---|
| Keep the existing footprint | May limit structural and mechanical changes | Whether the current flow and storage truly work |
| Add or enlarge an island | More prep, seating, and storage | Clearances, circulation, utilities, and slab size |
| Open a wall | Longer sightlines and better connection | Structure, utilities, flooring transitions, and permits |
| Move the sink or range | Can improve workflow | Drain, vent, gas, electrical, exhaust, and access |
| Add a pantry or beverage zone | Moves storage and serving out of the work area | Door movement, depth, outlets, refrigeration, and traffic |
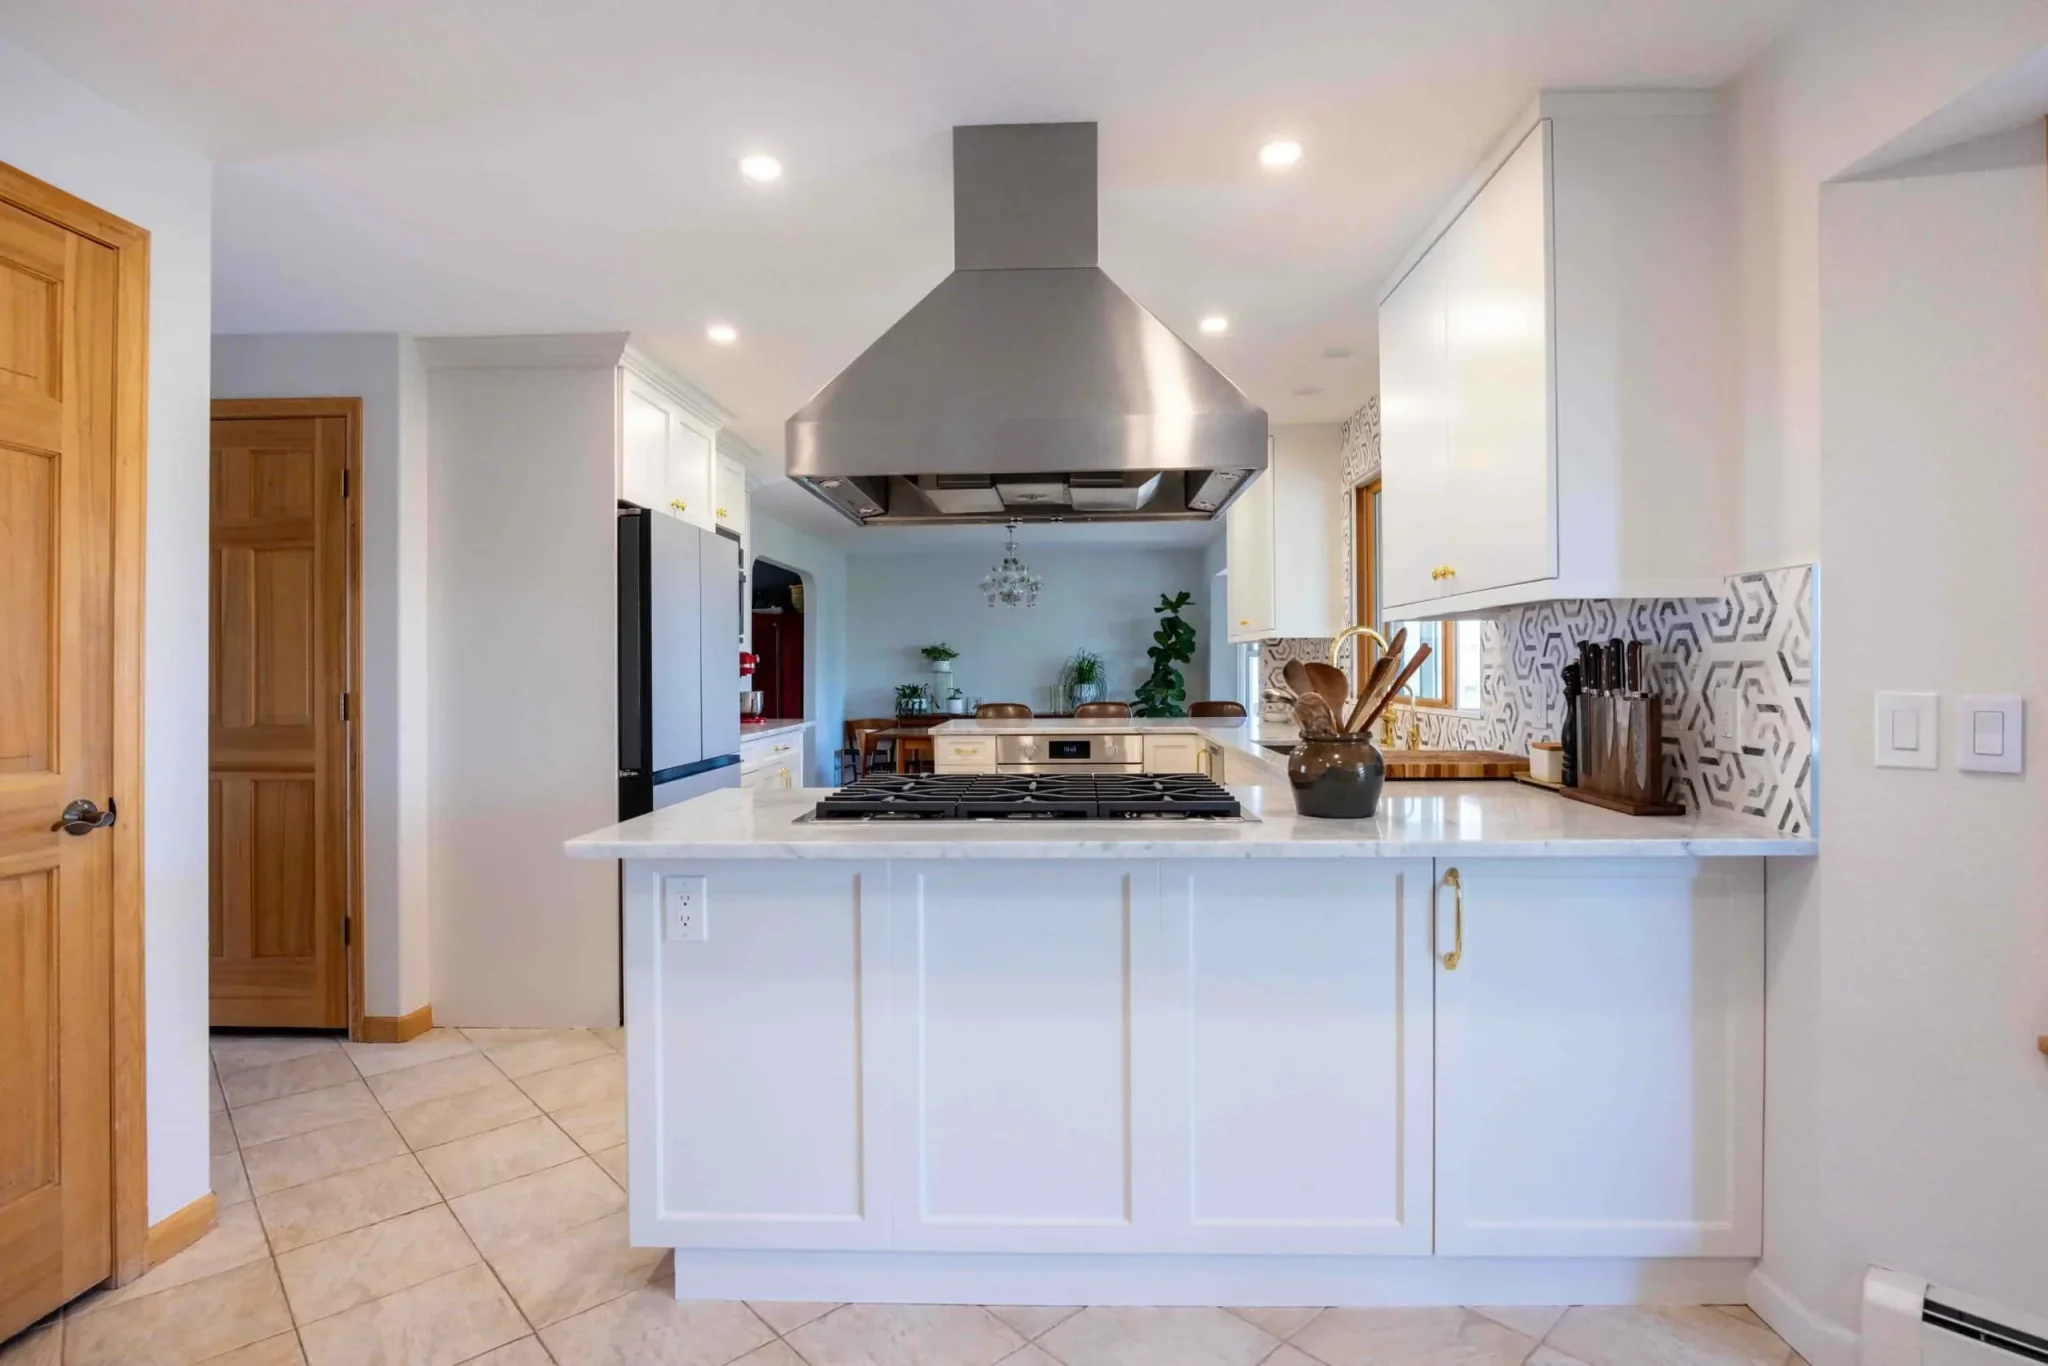
The 1st Avenue kitchen remodel in Lynbrook shows why constraints belong in the design conversation. The project improved connection and added an eating bar while adapting cabinetry around a plumbing waste line that could not be relocated. A high-powered hood was coordinated through a ceiling-joist bay to maintain a clean ceiling line without a soffit.
4. Plan cabinetry around what you own
Cabinetry typically occupies the most visual and functional area in a kitchen. Begin with an inventory: pots and pans, baking equipment, dishes, pantry staples, trays, small appliances, cleaning supplies, waste, recycling, pet needs, and the items currently stored outside the kitchen.
Then assign each category to a zone. Deep drawers can make cookware easier to reach. Tray dividers can organize sheet pans and cutting boards. Pullouts can help use narrow spaces. A tall pantry can add capacity, while a walk-in pantry may free the main kitchen from bulk storage. The best configuration depends on the room and the household; hardware should solve a real need rather than fill a catalog.
Choose a cabinet level with eyes open
In-stock and ready-to-assemble cabinetry can suit simpler plans with standard sizes. Semi-custom cabinetry offers broader sizes, finishes, and configurations and is common in more tailored remodels. Full custom cabinetry provides the greatest flexibility for unusual dimensions and specialized storage. Compare construction, finish, hardware, modifications, warranty, and lead time—not only the door style.
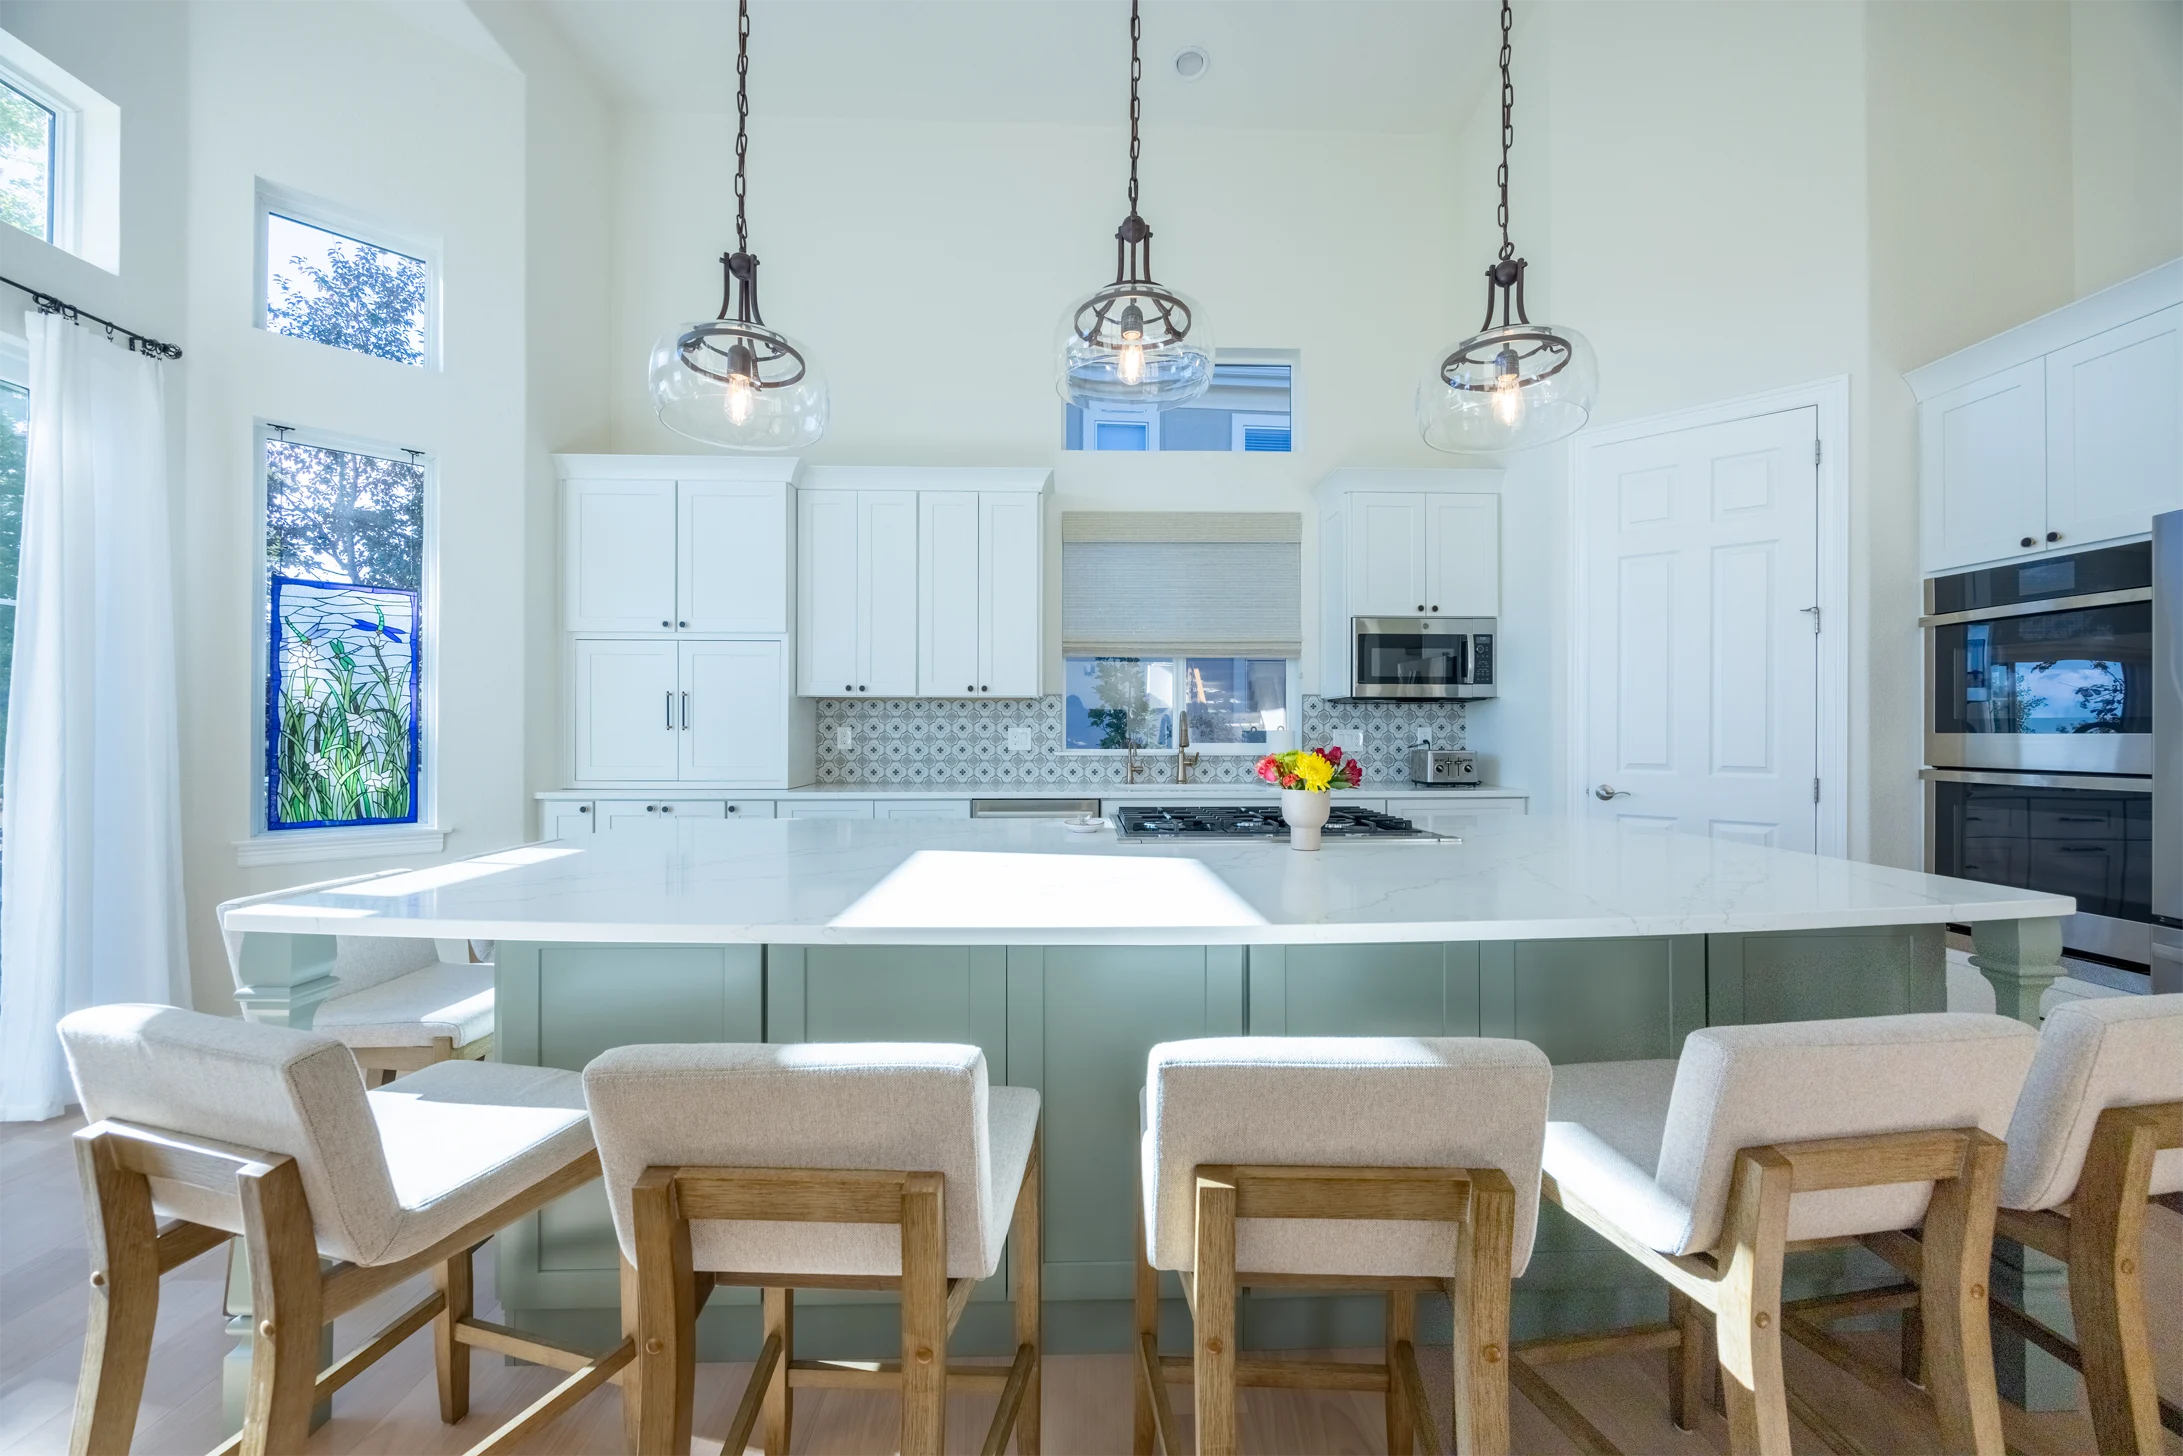
For a detailed example, explore the Rosedale, Queens main-floor transformation. Its kitchen includes a seven-seat island, hidden mixer stand, spice pullouts, pot-and-pan drawers, and purpose-built storage that reflects how the homeowners cook and gather.
5. Coordinate appliances, lighting, electrical, and ventilation early
Appliance model numbers should be selected—or at minimum technically specified—during design. Cabinet openings, panels, fillers, countertop clearances, electrical loads, plumbing, gas, ventilation, and service access depend on the actual manufacturer requirements. “Standard size” is not enough for a fully coordinated plan.
Plan ventilation as a system
Range and hood decisions belong together. Consider cooking style, hood dimensions, duct route, framing, exterior termination, make-up air requirements where applicable, noise, and maintenance. A powerful appliance without a feasible exhaust path can force an expensive redesign after cabinets are ordered.
Layer the lighting
Combine ambient ceiling light with task lighting at counters and sinks. Under-cabinet lighting can reduce shadows on work surfaces; pendants can define an island but should not block sightlines. Switches, dimmers, receptacles, dedicated circuits, controls, and fixture locations should be coordinated with cabinet elevations and backsplash layouts.
6. Select surfaces as a coordinated assembly
Countertops, backsplash, floors, paint, hardware, plumbing fixtures, and lighting should be viewed together in the room’s actual light. Each material also has practical requirements: heat resistance, stain behavior, sealing, edge options, slab dimensions, grout maintenance, slip resistance, movement joints, and compatibility with the substrate below.
Quartz, granite, marble, and solid-surface counters offer different appearance and care profiles. Hardwood can visually connect an open main floor, while tile and resilient products bring different water and maintenance considerations. No material is universally best. The right specification balances the design, household habits, installation conditions, and care expectations.
Finalize visible selections before demolition whenever possible. A mood board and coordinated schedule help prevent one attractive choice from conflicting with the cabinet finish, appliance color, countertop pattern, or adjoining-room flooring.
7. Confirm permits, filings, and building rules for the exact address
Permit requirements depend on the property, municipality, and defined scope. Structural work and changes to gas, plumbing, or electrical systems can change the approval path, while some finish-only work may be treated differently. Co-ops and condominiums can add alteration agreements, insurance requirements, work-hour rules, deposits, and board review.
The New York City Department of Buildings’ kitchen and bathroom renovation guidance says plans and permits may be required depending on complexity and gives rerouted gas with added outlets and moving a load-bearing wall as examples that require filings. The Village of Valley Stream Building Department advises owners to confirm whether a particular project needs a permit. Other Long Island towns and villages have their own processes.
Prime Craft coordinates applicable permitting and inspections during pre-construction. The goal is to identify the responsible parties, required documents, and likely review sequence before the construction start date.
8. Build a schedule that includes pre-construction
A kitchen remodel schedule has two major parts. Pre-construction includes field verification, design, selections, engineering when needed, pricing, permits or board approvals, ordering, and confirmation that critical materials are ready. Active construction begins only after those pieces are sufficiently coordinated.
Prime Craft’s published planning range is generally four to twelve weeks of active kitchen construction, depending on layout changes, trade coordination, cabinetry, finish complexity, approvals, and existing conditions. Larger connected scopes can take longer. For example, the documented Garden City main-floor remodel took 14 weeks because it extended beyond the kitchen to a wet bar, flooring, staircase, exterior openings, and other connected spaces. The documented Rosedale main-floor project took 10 weeks.
Ask what must happen before day one
A reliable start depends on more than a signed contract. Confirm permit status, cabinet dates, appliance availability, countertop timing, site access, protection, temporary-kitchen plans, and the sequence for required trades. Homeowners should also know where daily updates will appear. Prime Craft uses JobTread for progress photos, notes, approvals, and project communication.
9. Compare remodeling proposals by scope and process
Two proposal totals can describe very different projects. One may include demolition, disposal, protection, design coordination, permits, electrical changes, plumbing, painting, and final cleaning; another may leave several of those items undefined. Before comparing numbers, align the scope.
| Proposal area | Questions to answer |
|---|---|
| Scope and exclusions | What work, rooms, repairs, and finishes are included or specifically excluded? |
| Product allowances | Which materials are selected, and which remain budget allowances? |
| Permits and professionals | Who coordinates filings, inspections, drawings, and licensed trades when required? |
| Schedule | What must be ready before construction, and what can change the sequence? |
| Changes | How are concealed conditions and homeowner-requested changes documented and approved? |
| Home protection | How will access, dust, debris, pathways, children, pets, and daily cleanup be managed? |
| Follow-up | What walkthrough, warranty, and post-completion process is included? |
Prime Craft develops the design before the construction proposal so plans, renderings, selections, allowances, and expectations can be connected. Review Prime Craft’s design-build process to see how discovery, site review, design, proposal, construction, and follow-up fit together.
What completed New York kitchens teach about planning
Real work provides better planning lessons than generic inspiration. These projects show how scope follows household needs and existing conditions:
- Lynbrook: improved cooking equipment, ventilation, connection, and cabinetry were coordinated around a staircase and fixed waste line. Tour the Lynbrook kitchen remodel.
- Rosedale, Queens: a seven-seat island and task-specific storage supported daily family life and entertaining. See the Rosedale main-floor transformation.
- Garden City: the kitchen was planned as part of an entertainment-ready main floor, including a wet bar, flooring, and structural work. Explore the Garden City main-floor remodel.
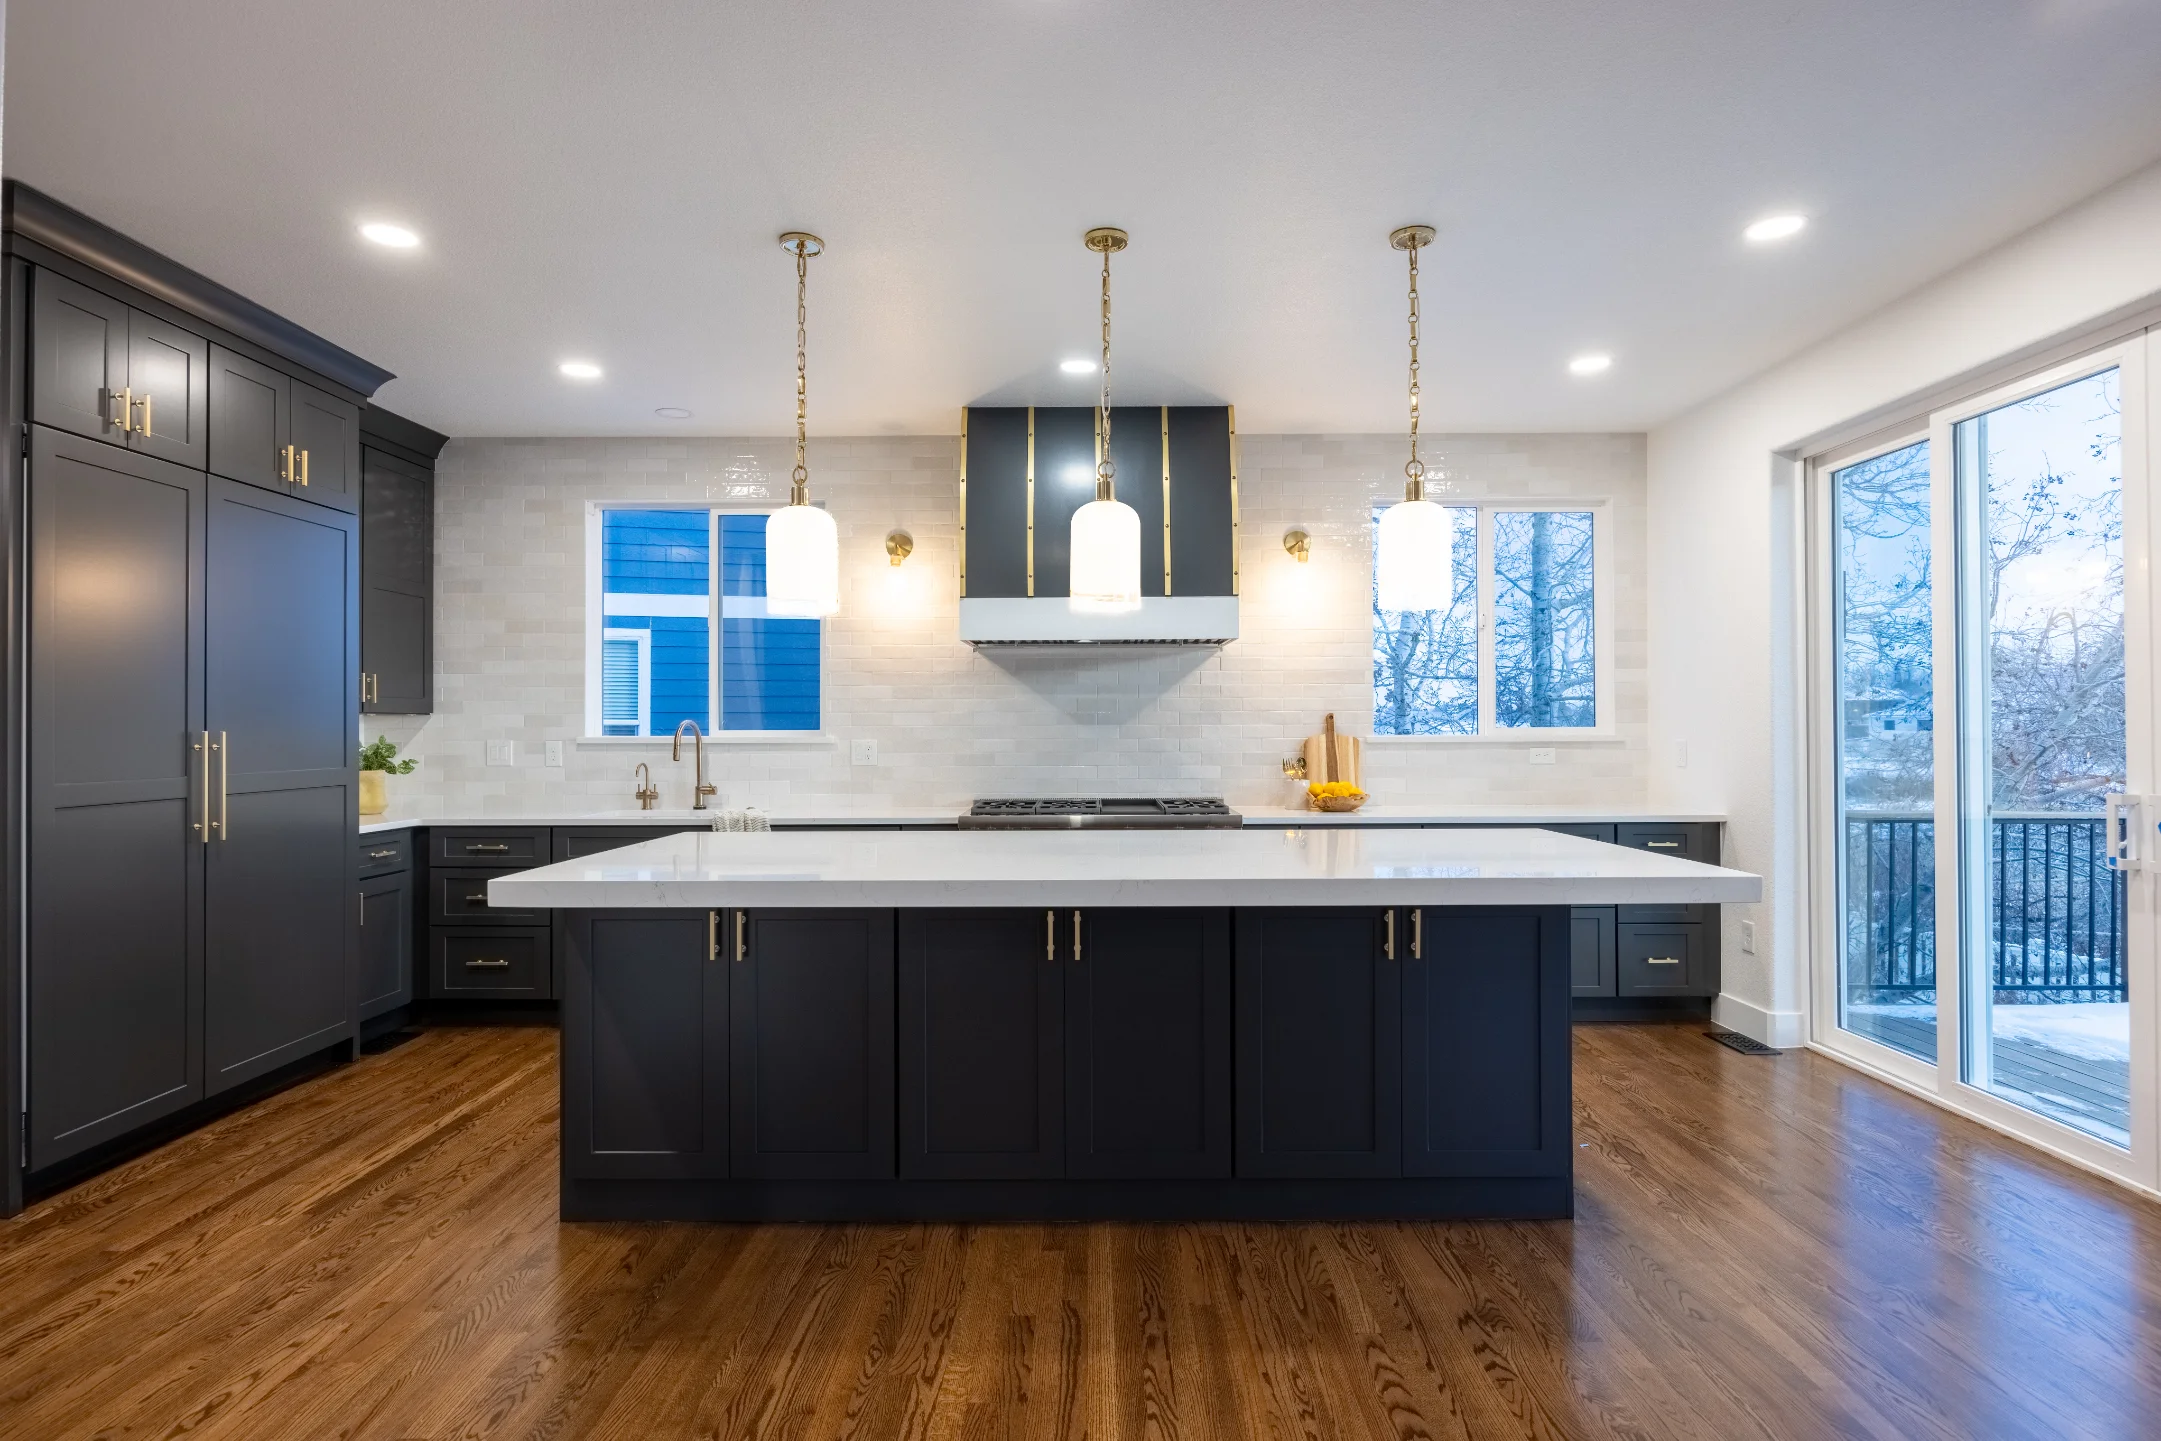
- Ozone Park, Queens: a slate-blue Shaker kitchen, central island, and coordinated materials were part of a whole-home scope. View the Ozone Park full-home remodel.
Browse all featured remodeling projects to compare kitchens, main floors, bathrooms, basements, and whole-home work.
Final kitchen remodel checklist before demolition
- Approve the measured layout and cabinet elevations.
- Confirm appliance model numbers, dimensions, utilities, ventilation, and delivery requirements.
- Finalize cabinetry, counters, backsplash, flooring, fixtures, lighting, hardware, and paint.
- Review permits, building rules, engineering, and inspection responsibilities.
- Confirm the written scope, exclusions, allowances, payment milestones, and change procedure.
- Verify cabinet and long-lead material timing before setting the start date.
- Plan site access, dust control, debris removal, pets, children, and a temporary kitchen.
- Know who leads the project, how updates are delivered, and how decisions are approved.
- Document existing adjacent finishes and items that will remain.
- Schedule a pre-construction review so the homeowner, project lead, and trades begin from the same information.
Based in Valley Stream · Serving Nassau County · Suffolk County · Brooklyn · Queens · The Bronx
Kitchen remodeling planning FAQs
What should I do first when planning a kitchen remodel?
Begin with the problems the new kitchen must solve, then verify the existing room and systems. Priorities, field measurements, appliance requirements, and layout decisions should come before finish shopping.
Is it easier to keep the existing kitchen layout?
Keeping major plumbing, gas, ventilation, and walls in place can reduce complexity, but it is only the right choice when the existing flow supports the household. Existing conditions and desired function still need to be evaluated.
How long does a kitchen remodel take?
Prime Craft’s published planning range is generally four to twelve weeks of active construction, depending on layout changes, trades, cabinetry, finishes, approvals, and existing conditions. Design, selections, ordering, and permits occur before that construction window.
Does a kitchen remodel require a permit in Long Island or New York City?
Requirements depend on the municipality, property, and scope. Structural, gas, plumbing, and electrical changes can affect the approval path, while some minor finish work may be treated differently. Confirm the defined scope with the applicable authority before work begins.
When should I choose appliances for a kitchen remodel?
Choose or at least finalize appliance specifications during design, before cabinets, utilities, ventilation, and clearances are released for construction. Model numbers provide the dimensions and connection requirements the team needs.
What should a kitchen remodeling proposal include?
A useful proposal should explain the defined scope, exclusions, product allowances, permit responsibility, anticipated schedule, payment milestones, site protection, change procedure, cleanup, and warranty or follow-up process.